27th April 2020 8:00 am
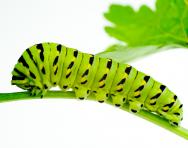
This activity from the Woodland Trust is a great way to get your kids active, using their imaginations, and learning about nature! Challenge them to:
1. Lie on the ground and wriggle like a worm
2. Flap their arms like a butterfly flutters it’s wings
3. Put their hands on the floor and scuttle about like a spider
4. Do some giant leaps like a cricket
5. Crawl on the floor, then curl up into a ball like a woodlouse
Then, head over to TheSchoolRun.com for lots of interesting minibeast facts, photos, and a video.

26th April 2020 8:00 am
Spring is here and there are lots of interesting birds to spot right outside your window. Your kids will love this messy craft project from the Woodland Trust to make their own bird feeder.
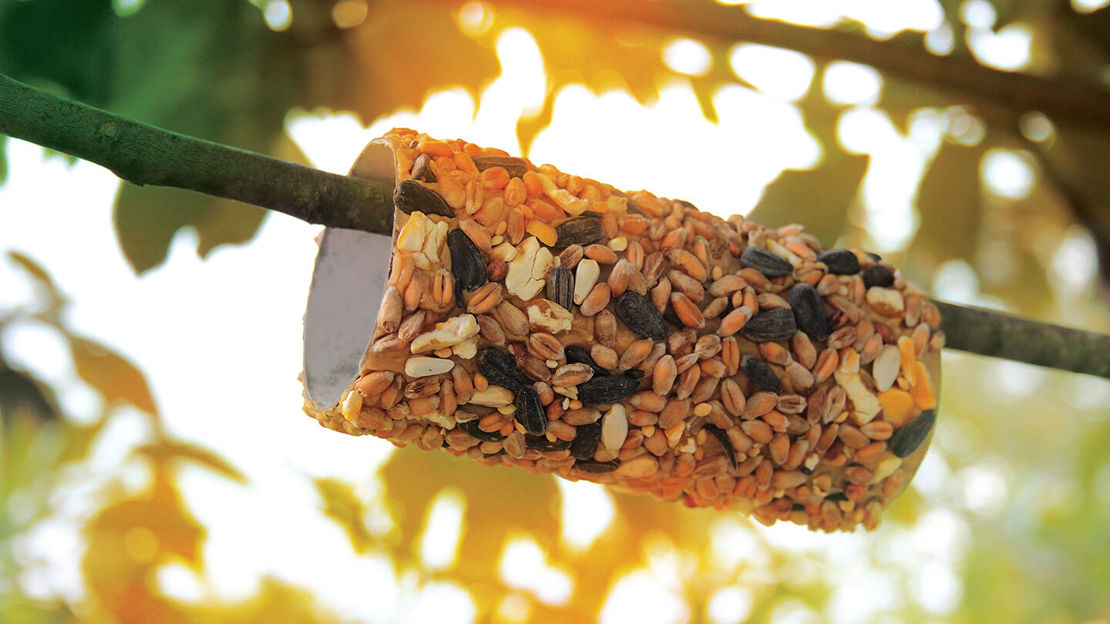
Take the empty cardboard tube from a roll of loo roll and get your kids to smother it in peanut butter (the kind without any added salt or sugar).
Then, roll the tube in birdseed. If you don’t have birdseed at home, the RSPB recommends foods like uncooked porridge oats, cooked rice, any breakfast cereal, raisins or other dried fruits, seeds, or even mild grated cheese.
Now it’s time to tie up your new bird feeder outside and see who pops round for a snack! Print out a bird watching checklist to help you and your child identify different types of birds.

26th April 2020 8:00 am
This dance video from GoNoodle is perfectly ridiculous. Your kids will love following the simple dance moves – if they can stop laughing long enough to follow along!
Then check out the accompanying worksheet to learn some fun facts about the different body parts used in the video.
25th April 2020 8:00 am
This simple craft from the Woodland Trust is a great way to introduce your child to the concept of symmetry. All you need is a piece of paper and some paint.
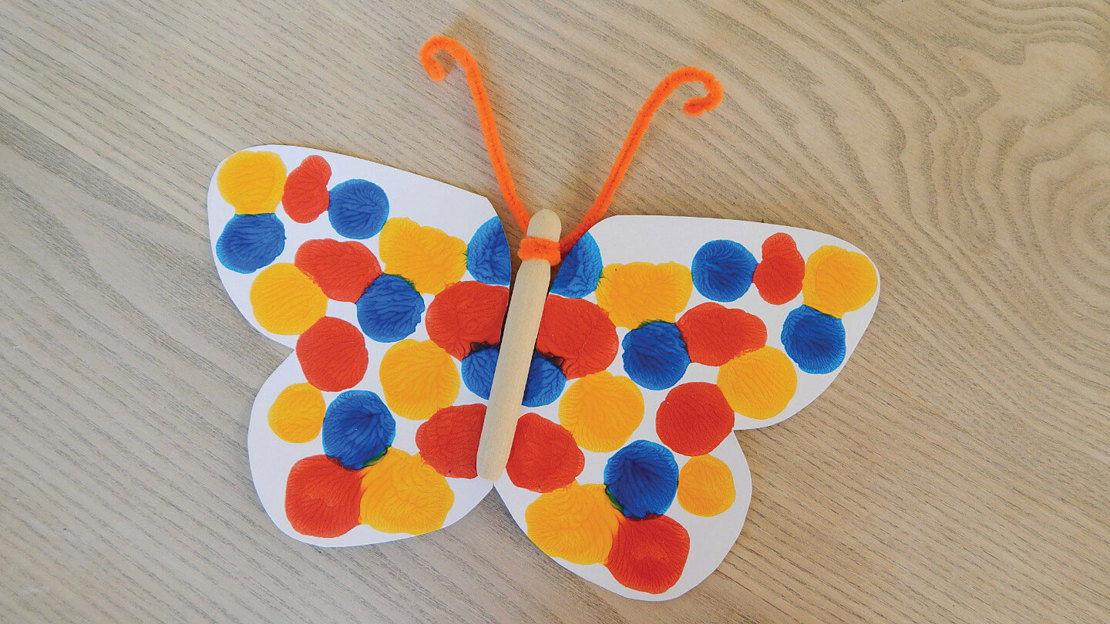
Fold the paper in half, or draw a line down the middle. Then get your child to splodge paint on one half of the paper only. Fold the paper in half so that the paint spreads onto both sides. Then, carefully open the paper back up to reveal your butterfly!
Explain to your child that a butterfly’s wings are symmetrical, meaning they are the same on both sides – just like their painted butterfly. If you have them, you can use a clothes peg or wooden craft stick to add a butterfly body, and some colourful pipe cleaners for antennae.

25th April 2020 8:00 am
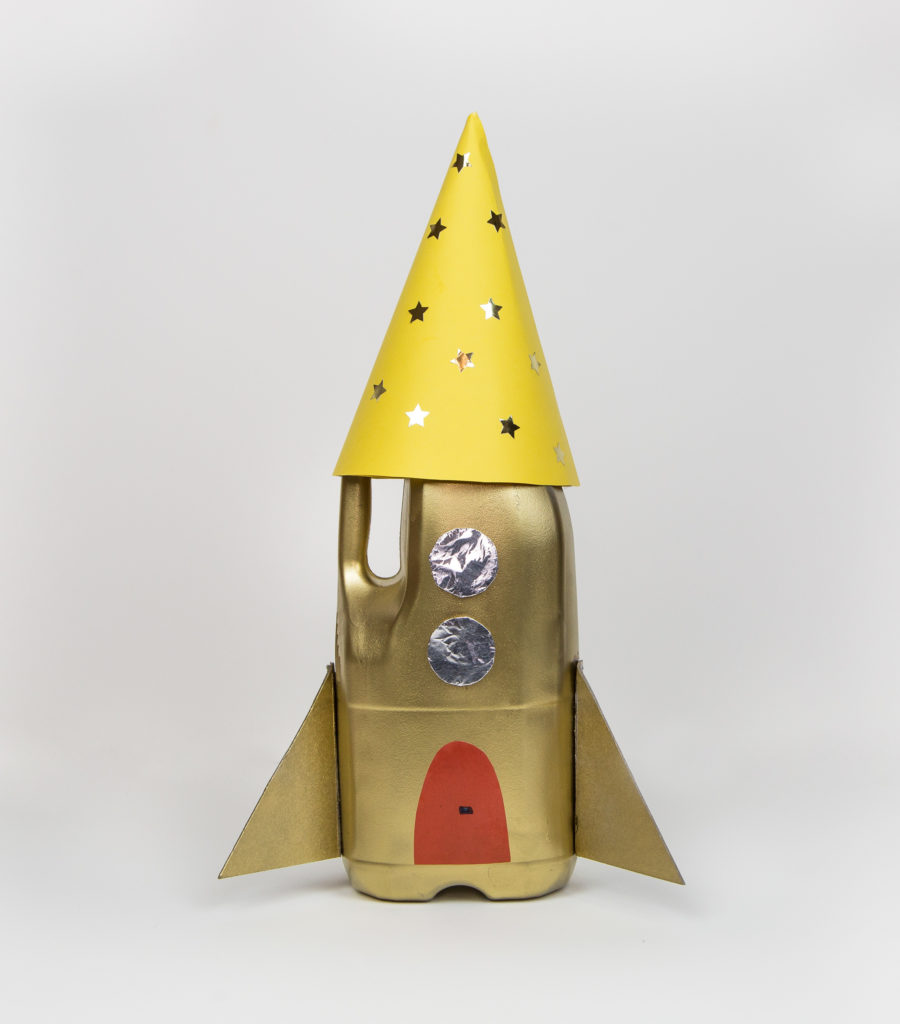
Do you have a budding astronaut at home? Try this simple science project from Science Sparks to teach your kids about air pressure. All you will need is an empty plastic milk bottle, a piece of paper, some tape, and whatever your kids want to use to decorate their rocket.
As mentioned on Science Sparks, this activity is a great accompaniment to the story ‘Whatever Next!’ by Jill Murphy. If you don’t have the book, you and your child can read it here.

19th April 2020 8:00 am
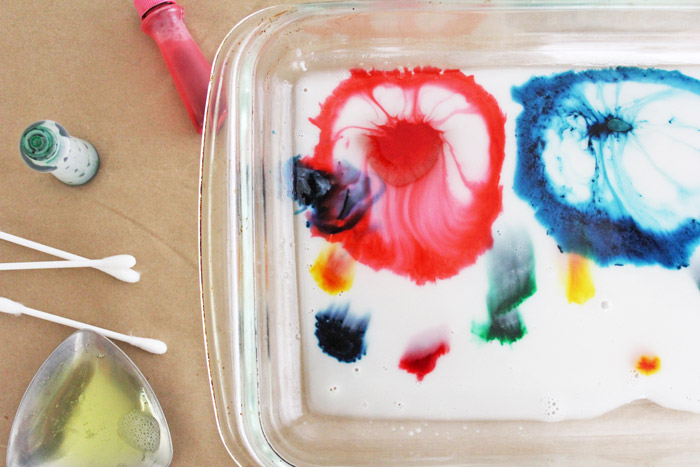
Watch colours burst in a tray of milk in this exciting art and science project. Visit Babble Dabble Do for instructions and an explanation of the science behind why this works. For this project you will need cow’s milk or almond milk, washing up liquid, cotton buds, food colouring, and a shallow baking dish or wide bowl.

15th April 2020 8:00 am
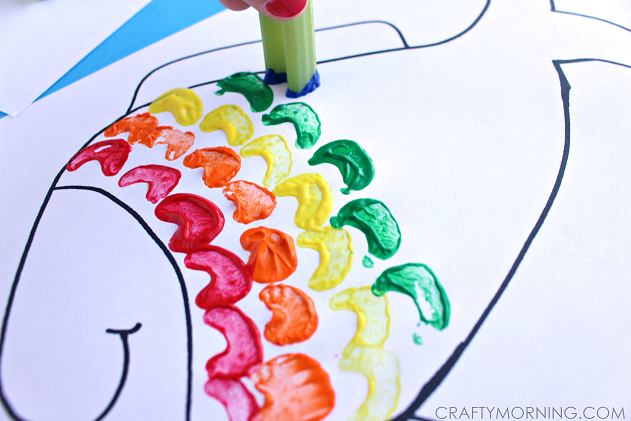
Draw the outline of a fish for your child or print this one from supercoloring.com. Then set your child up with a few different colours of paint and some celery sticks. Show them how to dip the end of the celery into the paint and press it to the paper to make a fish scale.
We do lots of printing with different types of vegetables at Pippins, so this is an activity your child may already be familiar with.
While your child creates their fishy masterpiece, visit mom.com for a kid-friendly explanation of what fish scales are and why fish have them.

Photo courtesy of Crafty Morning.
13th April 2020 8:00 am
Long days at home mean plenty of time to get stuck into a bit of gardening. Help your child develop their green thumb (and eventually their tastebuds!) by planting some vegetable seeds. If you don’t have any seeds to hand, check your kitchen for a tomato or pepper – both of those vegetables have seeds that are simple to plant! This great post from PBS explains an easy way to grow seedling using an empty egg carton.
12th April 2020 8:00 am
If you have a garden, give this Spring Scavenger Hunt from Primary Playground a try with your child.

10th April 2020 8:00 am
This is an easy and fun experiment that doesn’t require any special equipment. Just collect some dirty pennies and get your kids to drop them into a bowl of vinegar with about a teaspoon of salt in it. Watch them go from dull to shiny in seconds! Visit Exploratorium and scroll down to the blue box at the bottom of the page to help you explain to your kids why this experiment works.
Next, take the pennies out of the vinegar. Rinse some of them off, and leave others un-rinsed. Lay them out to dry and come back in about an hour. Are the un-rinsed pennies starting to turn green?
Try this experiment with different types of acidic solutions. Lemon juice, orange juice, and ketchup are all good choices – let your kids think up some others! Do any of these work as well as the vinegar and salt solution?
