Get your kids learning maths, science, art and more with this collection of ideas from TTS’s Home Learning Collection, which are all based on the Twinkle Twinkle Little Star nursery rhyme.
Get your kids learning maths, science, art and more with this collection of ideas from TTS’s Home Learning Collection, which are all based on the Twinkle Twinkle Little Star nursery rhyme.
Get your kids learning maths, science, phonics, art and more with this collection of ideas from TTS’s Home Learning Collection, which are all based on the Incy Wincy Spider nursery rhyme.
This upgraded version of Pin the Tail on the Donkey is guaranteed to lead to lots of giggles! Start with a piece of paper or cardboard and draw a big oval on it. This is the outline for your funny face. Tape it up on a wall at your child’s height.
Then, on a separate piece of paper, draw some eyes, ears, a nose and a mouth and cut them all out. Alternatively, print out a couple of copies of this colouring page, get your child to colour them in (this is a great opportunity to talk to them about their 5 senses!), and then cut out the shapes.
Add some blu tac, or low-stick tape to the back of each of your face parts. Then, blindfold your child (a scarf works), and have them try to put all the face parts in the correct spots on your face outline. Enjoy the silliness of their wonky face masterpieces!
For younger children, you may wish to play this game without the blindfold. This would be a great activity to think and talk about the placement of facial features and a building block towards purposeful mark making.
Feel free to get creative with different faces, depending on your artistic abilities or skill with a google image search. This game would work with silly monster faces (multiple eyes, horns, etc.), princess faces (include a tiara to place on her head), pirate faces (eyepatch and bandana), alien faces, etc. Use your imagination and your child’s particular interests to come up with your own ideas!

Photo courtesy of Five Minute Mum
Spring is here and there are lots of interesting birds to spot right outside your window. Your kids will love this messy craft project from the Woodland Trust to make their own bird feeder.
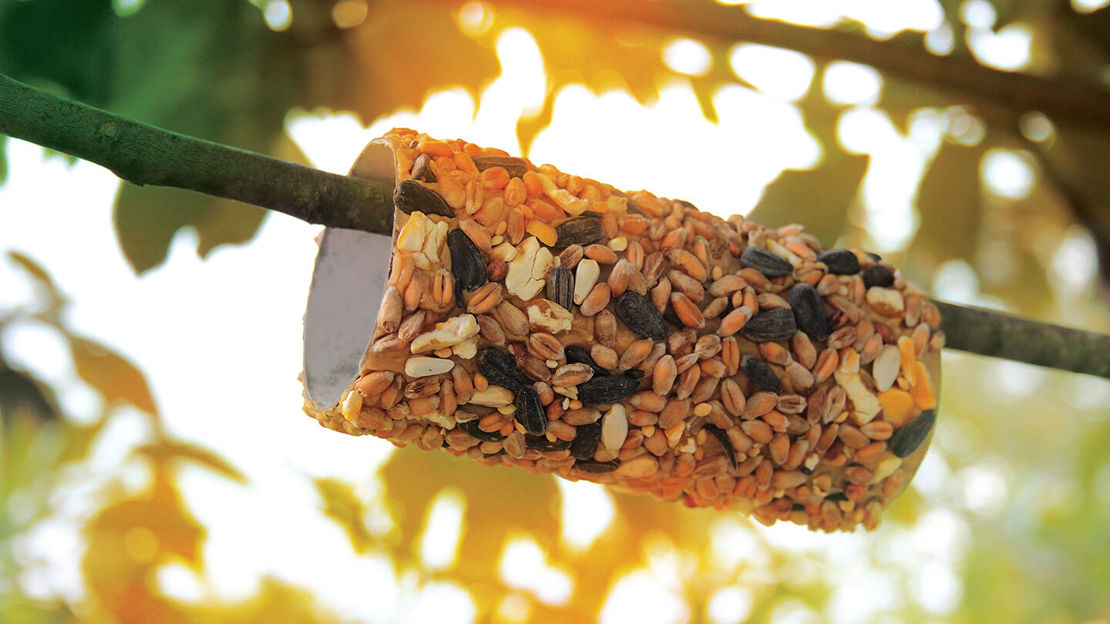
Take the empty cardboard tube from a roll of loo roll and get your kids to smother it in peanut butter (the kind without any added salt or sugar).
Then, roll the tube in birdseed. If you don’t have birdseed at home, the RSPB recommends foods like uncooked porridge oats, cooked rice, any breakfast cereal, raisins or other dried fruits, seeds, or even mild grated cheese.
Now it’s time to tie up your new bird feeder outside and see who pops round for a snack! Print out a bird watching checklist to help you and your child identify different types of birds.
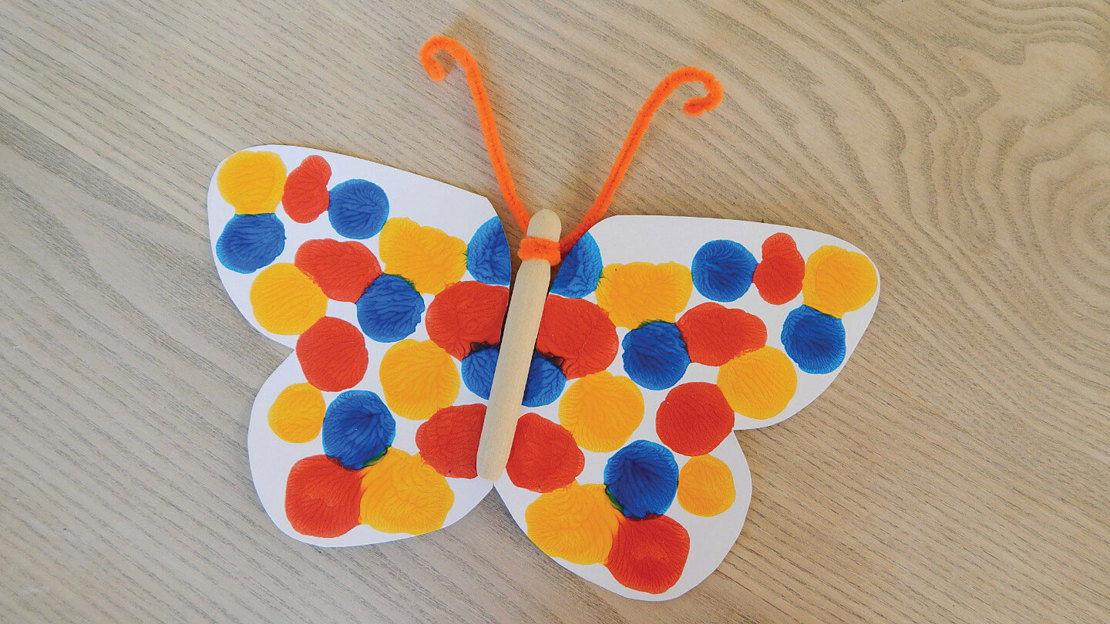
This simple craft from the Woodland Trust is a great way to introduce your child to the concept of symmetry. All you need is a piece of paper and some paint.
Fold the paper in half, or draw a line down the middle. Then get your child to splodge paint on one half of the paper only. Fold the paper in half so that the paint spreads onto both sides. Then, carefully open the paper back up to reveal your butterfly!
Explain to your child that a butterfly’s wings are symmetrical, meaning they are the same on both sides – just like their painted butterfly. If you have them, you can use a clothes peg or wooden craft stick to add a butterfly body, and some colourful pipe cleaners for antennae.
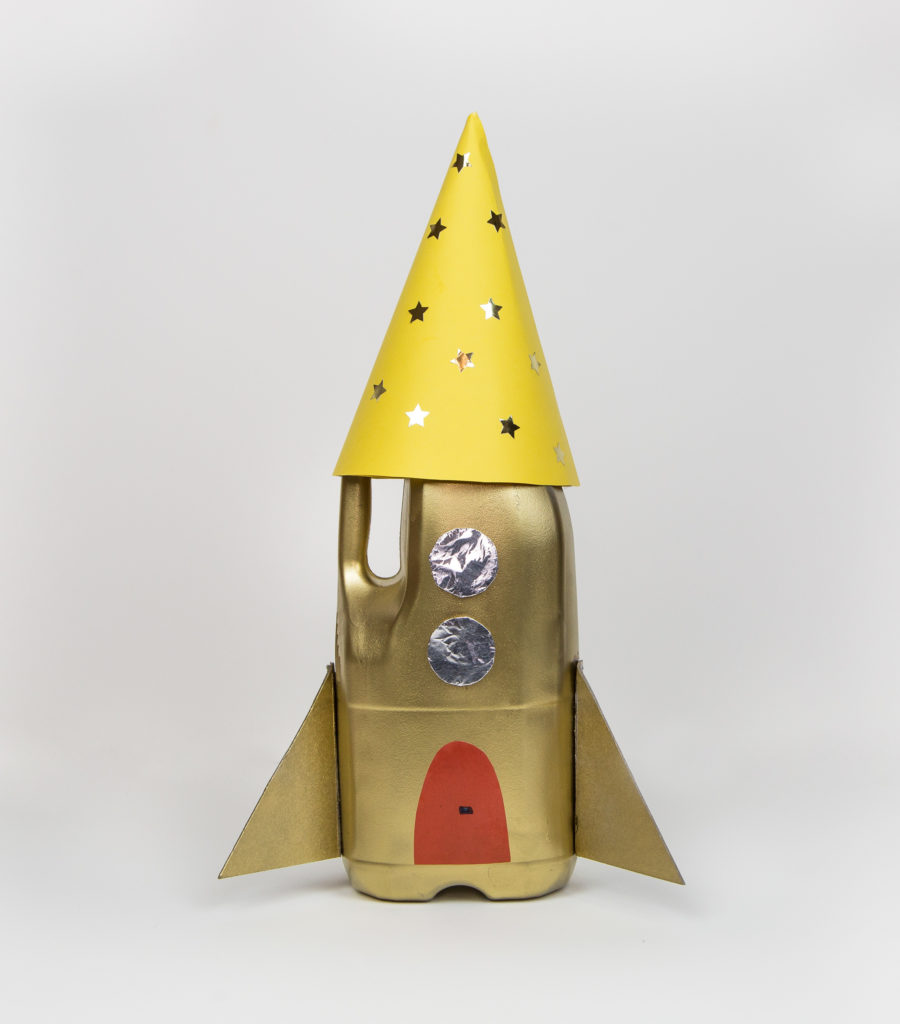
Do you have a budding astronaut at home? Try this simple science project from Science Sparks to teach your kids about air pressure. All you will need is an empty plastic milk bottle, a piece of paper, some tape, and whatever your kids want to use to decorate their rocket.
As mentioned on Science Sparks, this activity is a great accompaniment to the story ‘Whatever Next!’ by Jill Murphy. If you don’t have the book, you and your child can read it here.
Turn the cardboard tube from an empty roll of loo roll into a butterfly, a snake or an octopus. You’ll need to cut out the correct shapes for your child, but when it’s time to decorate their new friend, they can let their imagination go wild! Use whatever craft materials you have on hand – coloured paper & glue, pens, crayons, chalks, paints, glitter, stickers, etc.
Photo courtesy of Rossi’s Art and Crafts.

Photo courtesy of High Park Nature Centre.

Photos courtesy of Understanding Boys.
This game requires 2 or more paper plates, 1 or more cardboard tubes from a roll of kitchen roll, and some scissors. You might also choose to use hot glue and/or some paint.
Cut a hole in the centre of a paper plate (1 for each of your cardboard tubes) that is just large enough to slide the end of the cardboard tube through it. This is to stabilise the tube and help it remain standing. Alternatively, you can use a bit of hot glue to attach the cardboard tube to the centre of the plate, or cut the end of the tube like a fan and tape it down to the floor without a plate.
Depending on your paper plates, you may want to get your kids involved at this point. They can paint/decorate the remaining plates that will be the colourful ‘rings’ for tossing. When their artistic endeavours have dried, cut the centre out of each plate, so that only the rim remains.
Now let the games begin! Teach your child how to throw the rings frisbee-style and try to get them to land on the cardboard tubes.
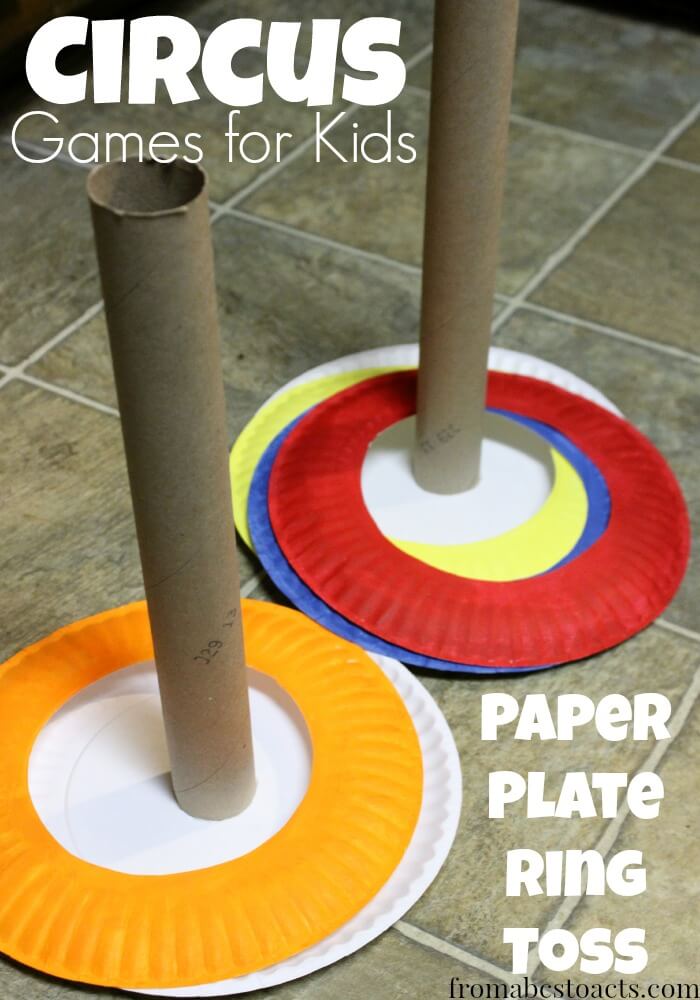
Photo courtesy of From ABCs to ACTs.
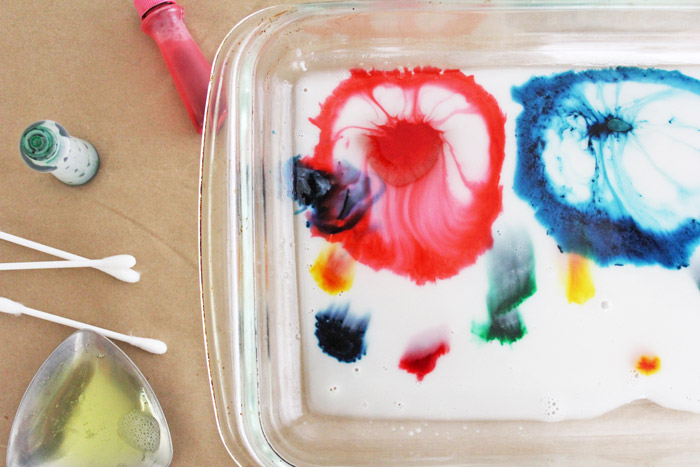
Watch colours burst in a tray of milk in this exciting art and science project. Visit Babble Dabble Do for instructions and an explanation of the science behind why this works. For this project you will need cow’s milk or almond milk, washing up liquid, cotton buds, food colouring, and a shallow baking dish or wide bowl.
We can’t go out to eat in a restaurant at the moment, so why not create one at home? Plan a special family dinner with your kids. Write out menus for the meal and let your children decorate them. Think about how you can make the meal feel fancy by offering multiple course, such as carrot sticks for a starter and fruit & yogurt for dessert. Talk to your children about making healthy food choices for the menu. Let your kids think up a silly name for your restaurant and for each item on the menu.
Get your kids involved in setting the table nicely with cutlery for each course and napkins (or kitchen roll) at every place setting. They can even make some 3D paper flowers to put in a vase as a table centrepiece and design their own placemats.
During the meal, talk about table etiquette. Let them try laying their napkin in their lap, practice saying ‘Please pass the…’ instead of reaching, and explain about using different pieces of cutlery for each course.